Friday, May 22, 2015

+ / - , Actualization.

I've been thinking quite a lot recently about the term actualization and how it applies to making art with a 3D printer. It's based off of the root actualizing (v) - To make actual or real. 1

The term is interesting as it refers to taking that which is not real - Ideas - and making them real or actual, thereby meaning that in actualizing an idea it can become real but never actual and vice versa. It can be one or the other but never both.

In the world of 3D printers we deal with the process of making things real. Taking a .stl file and making it into an object, something you can hold in your hands, whereas before it had only existed as a digital file that was necessarily ideal.

However, in the process of printing - Actualizing - an object, an actual version of the object is not achieved. What instead is produced is an approximation of the model, reduced by the physical limitations of the machine used to actualize the model.

Constraints within 3D printing (layer heights, nozzle diameters, calibration imperfections, slicing, support materials, printing materials, ect...) all contribute to an imperfect translation from model file to real object. Take the example of a sphere, perfectly 40mm in diameter and hollow with 1mm walls. [ Model here if you'd like to try it yourself. ]


Cut to show wall width
I'll then slice it - a process that tells the machine what movements to perform as well as how to lay down material - with pretty standard settings for a FDM machine (I'm using a Prusa i3)- 
  • Material -  PLA
  • Layers - 0.3 mm
  • Nozzle - 0.4 mm
  • Infill - 100% rectilinear 
  • Speed - 30 mm/s
  • Support - None
  • Slicing - Slic3r
 Which I can then export to the machine print the object.


38 minutes later.


It's obvious that there are surface deformities present that compound upon the dimensional inaccuracies present from printing. The resulting object is an imperfect but real representation of the object.

Real objects can be achieved through additive manufacturing, but never perfectly actual versions of a 3D model. Actualization is a necessarily reductive process.

The using additive manufacturing is a reductive process.


Which to me, as an artist, is very interesting.

Taking a perfect idea, translating it into reality, and seeing what is lost in the process. I've started a series of pieces that I'll be showing here soon off of that idea.

Tuesday, May 5, 2015

Embedding things in 3D prints.

I was out to breakfast this morning when my mind wandered onto the bracelet on my wrist. This bracelet I had printed the beads for and then strung together with a spot of unprinted stretchy filament. It worked as a bracelet but in my mind failed as a potential display of both materials, so I fixed it today. I also wanted to try something new, so I did.

Embedding parts in a 3D print to include multiple materials.

Starting out, I designed 2 parts.

[Found here...]

Next, I printed off the first part in a flexible material.
(Ninjaflex, 0.3mm layers, 70% infill)


I then started printing the second part.
(PLA, 0.1mm layers, 100% infill)


Which I then paused printing when it was at 5mm Z height to then place the first part into.


I then resumed the print and let it finish.


So, what I ended up with were two parts that were then hybridized as a single thing, combining aspects of both the flexible plastic and the hard plastic.


Which ended up pretty cool.


In other news I modeled up a 1958 Shasta Airflyte, and then printed it as a planter, which turned out pretty cool. (Didn't take any photos of the finished product, oops)


Wednesday, April 15, 2015

Just a quick update.


Been working with flexible filaments, playing with the infill percentage. The one on the left is 15% and the one on the right is 5% infill. It's quite a difference.

In other news, GIFs are fun.


- Mac

Tuesday, April 7, 2015

Finishing Post-Printing

I've been trying out a few techniques for finishing out prints to a surface I'd like to touch, with some success. I decided to try out a smooth on product, XTC-3D, a resin that is supposed to smooth out layering in prints.

Before finishing -


Sanding out most of the large layers and wayward strands with 150grit - 


First coating of the resin - 


After that, I applies another application of resin and painted with spray-paint, sanded with 400 grit, and coated it with glossy spray enamel.

Final results - 


It's incredibly smooth.

10/10 would resin again.


Tuesday, March 24, 2015

A couple things I've been up to.

I've been working on a few big ideas lately, projects I could make into long term projects and today I'm happy to unveil a couple of them.

For one, I've been playing with the idea of relief prints/sculptures that can be made and perfectly replicated into editions. For a long time I had a problem with traditional printmaking processes as it always seemed to me there was better ways to make 2d prints. This is one of the ways I've reconciled that.

 In progress...
Well calibrated if I do say so myself.


Finished piece...


This one is a relief of the face of Mary in Michelangelo's Pieta. As I'm typing this I'm also printing a frame for this to be mounted into. All in all I'm planning on doing a few of these and see how they fare.

I've ordered some resin and other surface treatments so as to finish out the exterior along with a few other things to polish it to a super high quality.

Anyways, something else.

I'm really excited about this one as it ties in really well to some of the other stuff I've been working on...


The image above is direct translation of a plain text (.txt) sentence to an image using all the data from the bits composing the sentence, which is to say this image is a direct representation of the words themselves. Which is cool, but even cooler is what they then became...


This is a print of that data, whereby I took the gray values of the image above and converted them into height data for a print

The print is a direct representation of the text, composed of and derived from the stuff that made the words what they were, but devoid of the same meaning. The sentence used to create the print was Genesis 1:1("In the beginning God created the heavens and the earth.")

I'm writing a program to take entire texts and output 3D files to print, allowing me to take entire books and print them in a physical manifestation of their meaning.

Think about a wall sized piece that is a direct representation of a holy text, across the room from another occupied wall containing a disparate holy text, completely different but for all the world looking the same at a glance.


That's an idea I can get behind.

More soon,
Mac 


Friday, March 20, 2015

Updates and Upgrades.

So.

I've been traveling, working, designing, procrastinating, ect...

Made a few cool things since the last update.

Like this guy...


It's a lightbox that folds up for easy storage.


Only uses a few common parts other than the printed bits.

The best part? It works wonderfully.


Files can be found here.


I also decided to change my extruder setup, a process easier said than done.

Before:

During:

After:

Results:


Couldn't do that before.

Cool part, it's using parts that I printed on it.
With this new setup my hope is that I'll be able to successfully print flexible materials. Which would be awesome.

Anyways. That's what I've been up to. That and coding a bit, but I'll show that when it's done.

In the mean time, a teaser:


Thursday, February 19, 2015

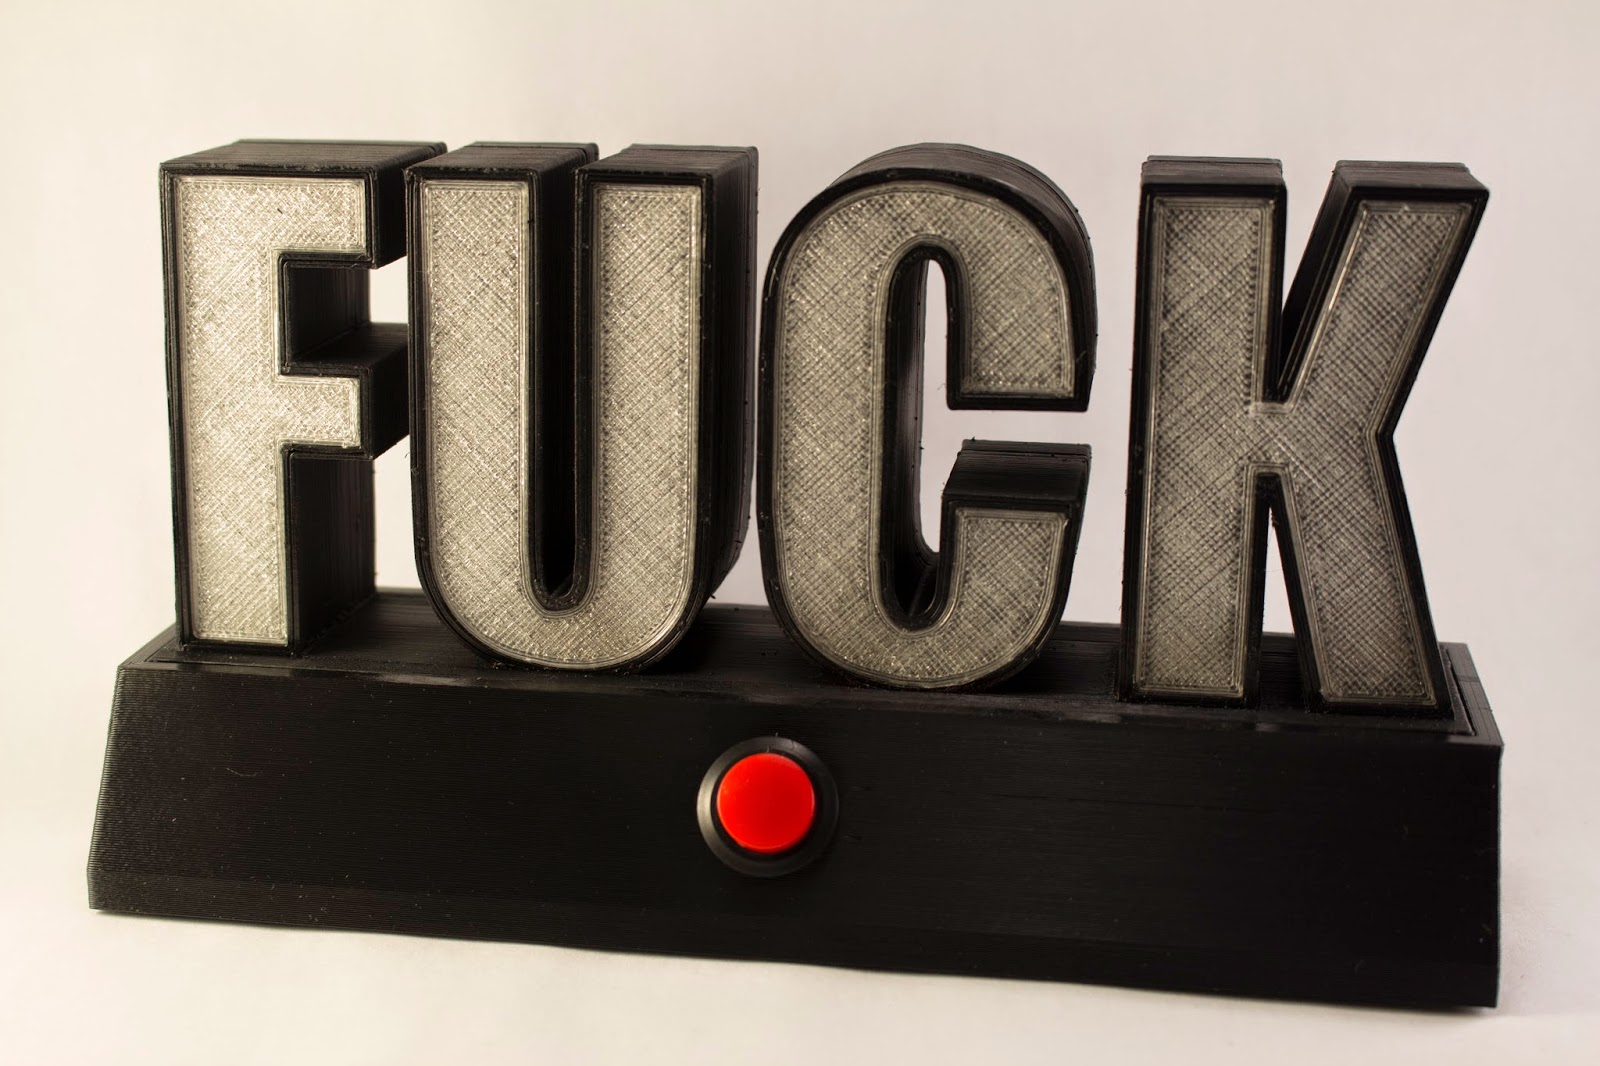
Lol

Just a quick update. I just today finished up a project I've been fiddling with for a while.


Installing LEDs.
Testing.
This is my first fully 3-d printed piece.

It works.

And its for sale. info@macpierce.com if you're interested.


Wednesday, February 11, 2015

Actualizing.

So, I've been busy designing projects and making things.


A couple of the things as of late...

Webcam Mount

Car dash phone mount.

Raspberry Pi b+/Pi 2 + 2.8" PiTFT case & Feet

Fire Extinguisher Holders

Shower beer shelf.
So yeah, I've also been fiddling around with the printer, honing it in and testing new filaments.


It printed really well. 0.1mm layers with a 0.25mm nozzle and supports. ~6ish hours.

Anyways, art projects.


This one will soon be incorporated into a piece I'm printing as I type this. Blinking lights, ect.

I've also another project that I'm hollowing out books for, that I'll post more of when it's closer to completion.

In a final note, I've started to post my designs online so that others with a printer can make them as well.

Cheers!